The Ultimate Guide to DIY Denim Distressing Techniques
"Discover The Ultimate Guide to DIY Denim Distressing Techniques and transform your jeans into edgy, personalized masterpieces! This comprehensive tutorial covers stepbystep methods like sanding, bleaching, ripping, and embroidery to create unique distressed denim looks. Learn pro tips for achieving factoryquality finishes at home, essential tools (sandpaper, razors, bleach), and how to customize designs for a vintage or grunge aesthetic. Perfect for beginners and fashion enthusiasts, this guide ensures durable, stylish results while avoiding overdistressing. Save money and unleash creativity by upcycling old jeans—explore the best techniques for subtle wearandtear or bold statement rips today!"
The Ultimate Guide to DIY Denim Distressing Techniques
Introduction
Distressed denim has dominated fashion trends for decades, offering a rebellious yet timeless aesthetic. Instead of buying preripped jeans, mastering DIY denim distressing techniques allows you to customize your look while saving money. Whether you prefer subtle fraying or dramatic shreds, this guide covers every method, tool, and trick to achieve professionalgrade results at home.
Essential Tools & Materials
Before starting, gather these supplies:
Sandpaper (medium to coarse grit)
Utility knife or razor blades
Chalk or fabric pencil (for marking designs)
Bleach or hydrogen peroxide (for fading)
Tweezers (to pull threads)
Embroidering needles (for repairs/details)
A wooden block (to protect the opposite side of fabric)
StepbyStep Distressing Techniques
1. Sanding for Natural Wear
Step 1: Lay jeans flat and insert a wooden block inside the leg to avoid sanding through both layers.
Step 2: Lightly rub sandpaper over knee areas, pockets, or thighs in circular motions. Focus on highfriction zones for realistic wear.
Step 3: For frayed edges, target hems or seams. Increase pressure gradually to avoid overdistressing.
Pro Tip: Use a pumice stone for softer, vintagestyle fading.
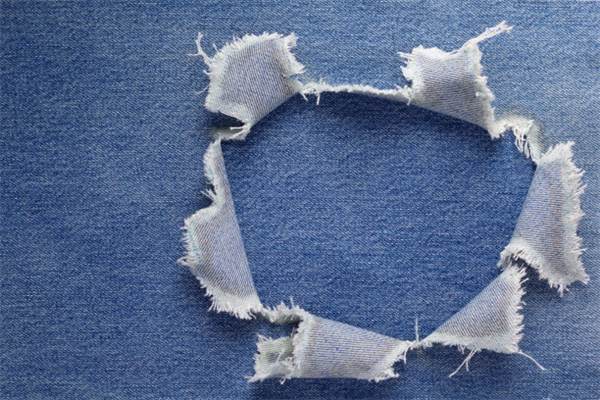
2. Creating Rips & Holes
Step 1: Mark desired rip locations with chalk. Horizontal slits mimic natural tearing, while vertical cuts look edgier.
Step 2: Gently slice fabric with a razor blade, leaving some horizontal threads intact.
Step 3: Use tweezers to pull out blue threads, enhancing the distressed effect.
Warning: Start with small cuts—you can always expand them later.
3. Bleach Washes for Color Fading
Step 1: Mix 1:1 bleach and water in a spray bottle.
Step 2: Lay jeans outside and spritz lightly. For ombre effects, dip hems into the solution.
Step 3: Rinse after 5–10 minutes (longer exposure = more fading).
Safety Note: Wear gloves and work in a ventilated area.
4. Embroidery & Patchwork
Reinforce rips or add flair with:
Sashiko stitching (Japaneseinspired repairs)
Ironon patches (for a punk vibe)
Beads/studs (to elevate grunge looks)
Advanced Tips for a Professional Finish
Layer Techniques: Combine sanding + rips + bleach for multidimensional texture.
Wash Strategically: Toss jeans in a washing machine postdistressing to soften harsh edges.
Avoid Overdoing It: Distress incrementally—you can’t undo cuts!
Conclusion
DIY denim distressing is an easy, creative way to revive old jeans or personalize new ones. By mastering these techniques—sanding, ripping, bleaching, and embellishing—you’ll craft oneofakind pieces that reflect your style. Start with small experiments, embrace imperfections, and remember: distressed denim improves with wear!
Ready to begin? Grab your tools and give your jeans a rebellious makeover today!
Global logistics
It can be shipped worldwide
About the MOQ
Minimum order quantity of 200 pieces
Support 24/7
Call us:(+86)138 0277 1794
Free sample
200 pieces MOQ Free sample
Customized product message